

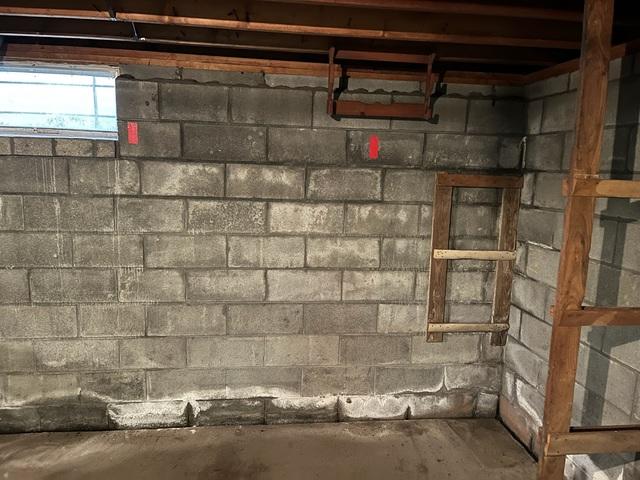
Marking locations
Tape is placed where CarbonArmor strips are to be installed
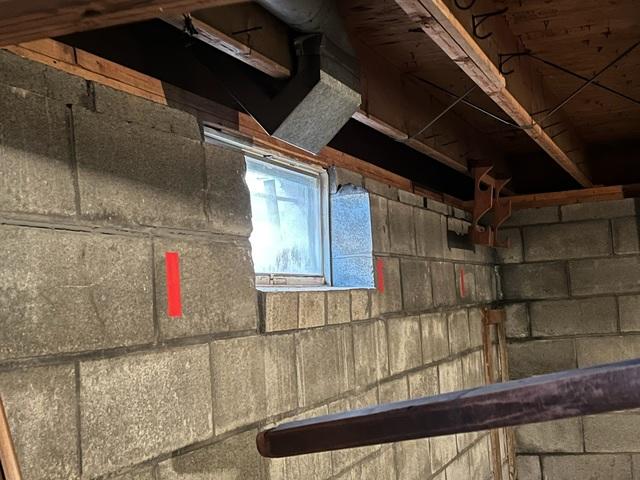
Pre-Production
Another shot of the marked locations
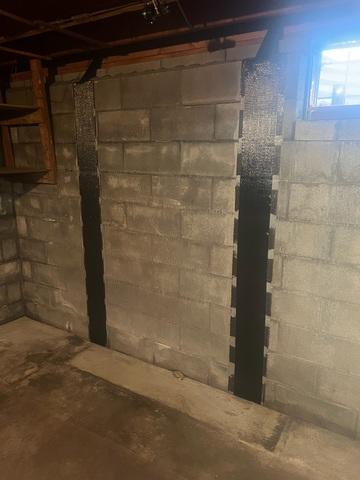
CarbonArmor
Four strips of CarbonArmor along affected wall
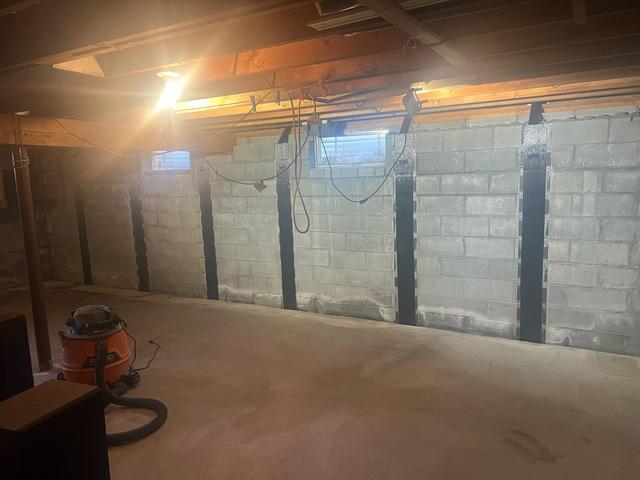
CarbonArmor 2
View of the entire system
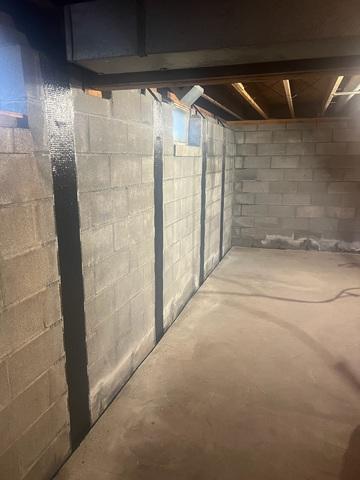
CarbonArmor 3
Two strips of CarbonArmor in corner

CarbonArmor 4
Close up of a single strip
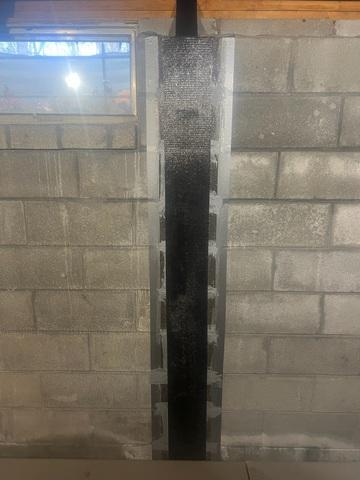
CarbonArmor 5
Another close view of CarbonArmor
