

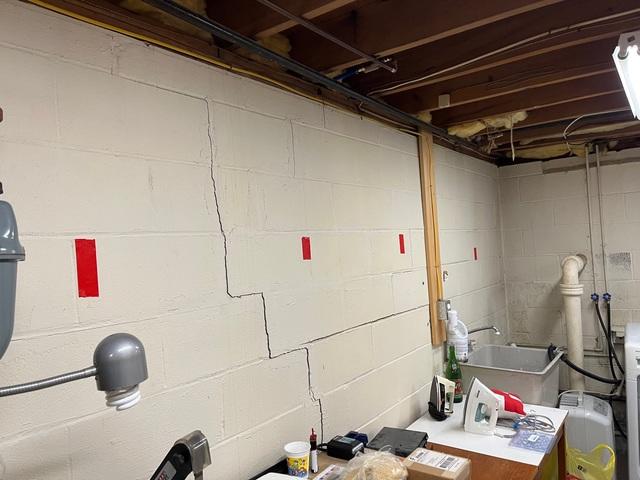
Pre-Production
Here you can see a common staircase crack in the wall, a very telling sign of foundation issues
Pre-Production 2
The red tape is used to mark off the location of where each strip of CarbonArmor will go
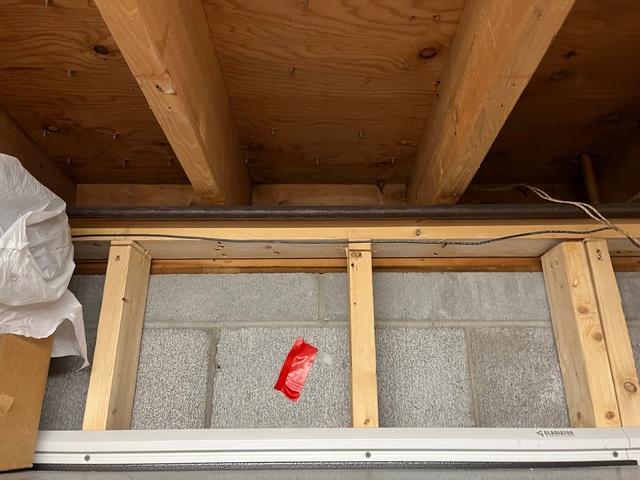
Pre-Production 3
Pulled back view of affected wall
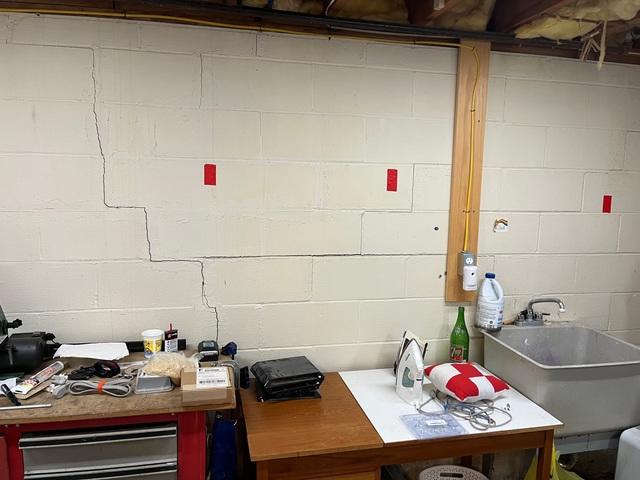
CarbonArmor
The strips fit right in with no distruption
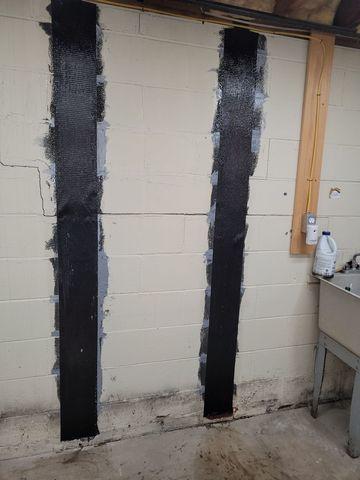
CarbonArmor 2
View of two CarbonArmor strips
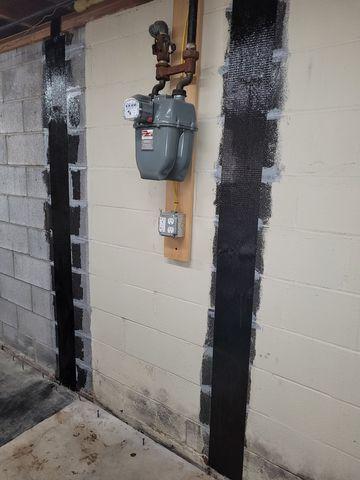
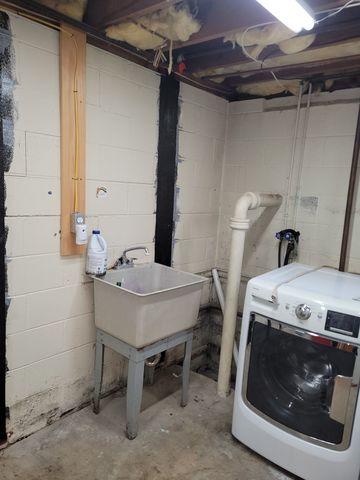
CarbonArmor 3
Another angle of the system
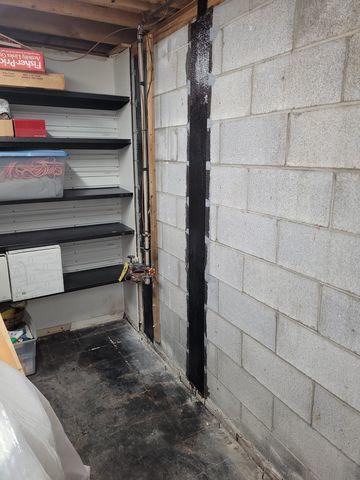
CarbonArmor 4
CarbonArmor in the corner of the basement
