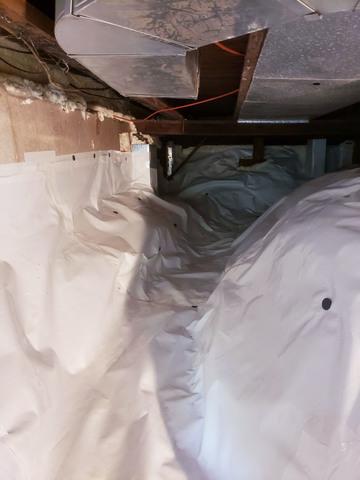
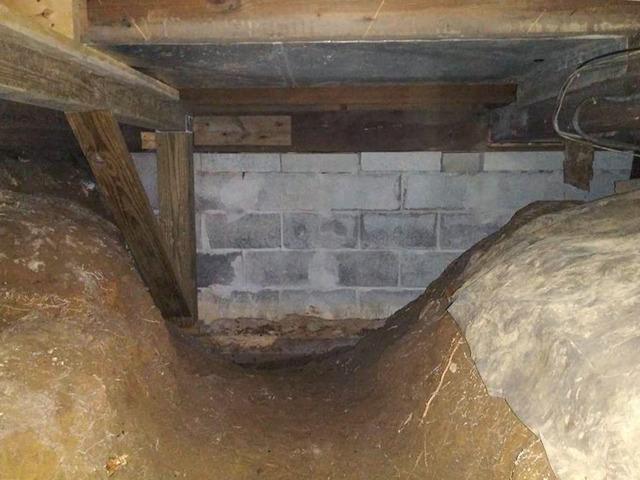
Right Side
This is the right side of the crawl space before the encapsulation.
Encapsulation (Left Side)
This is what the left side of the encapsulation looked like after completion.
Encapsulation (Right Side)
This is the encapsulation of the right side of the crawl space. The insulation is also able to be seen in this photo.
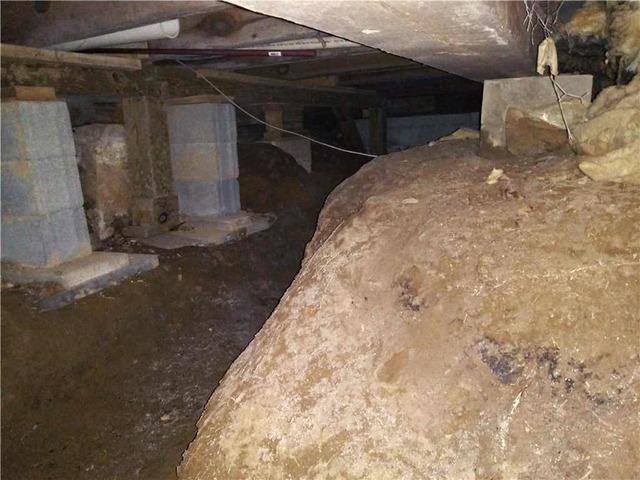
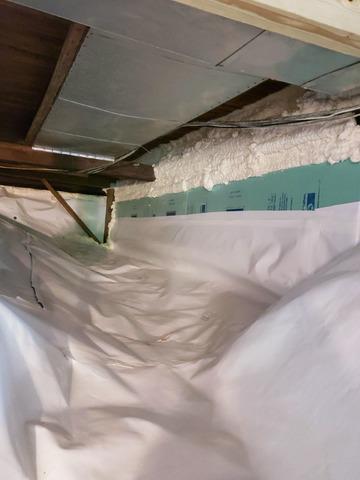
Middle of Crawl Space
This is another before photo, showing all the bumps and mounds that are in the crawl space that need to be wrapped over.
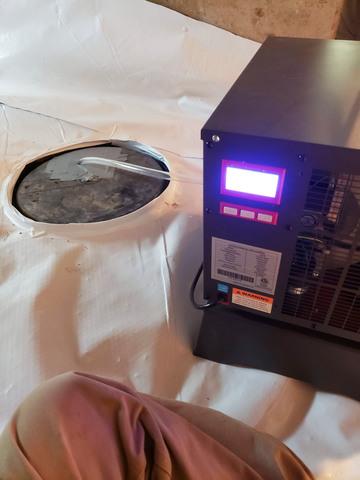
SaniDry Sedona
This is where the SaniDry Sedona was installed through the encapsulation barrier.
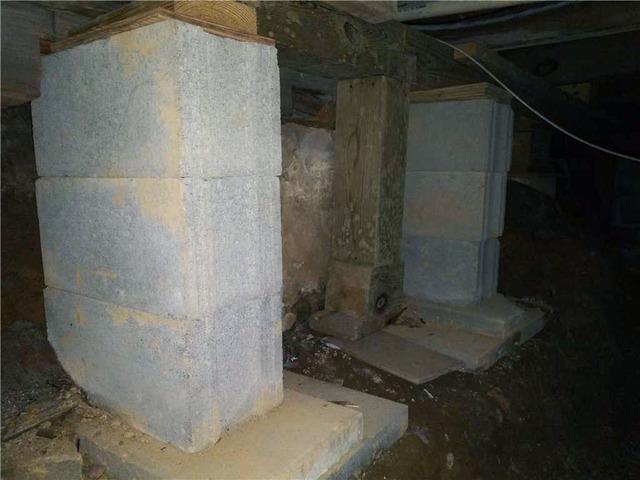
Piers (Left Side)
These are the piers that we wrapped and insulated around.