
Location for Egress Installation
Design Specialist Jon Roz measured out an ideal location for the Scapewel to be installed during Ms. "G"s free estimate.

Scapewel Egress After Installation- Outside
An outside look at the Scapewel showing the cover that protects from the elements.

Scapewel Egress After Installation- Inside
A view from the inside of the basement showing the clean look visual enhancement of the Scapewel.
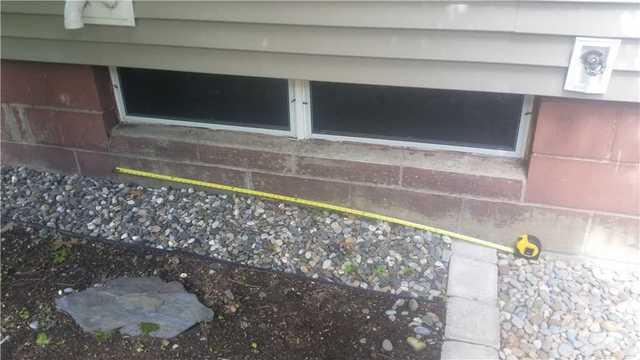
Previous Existing Windows
A before shot of the windows Ms. "G" originally had in her basement.

Everlast Window Installation- Outside
An outside view of the Everlast window installation.

Everlast Window Installation- Inside
An inside view of what the Everlast Window looks like after installation.