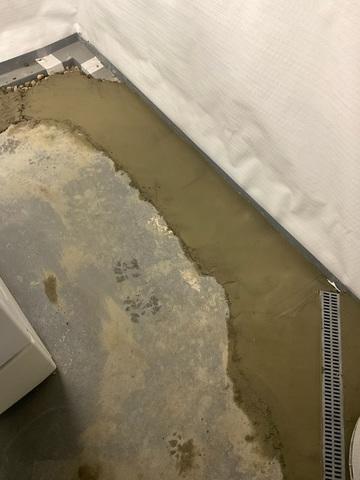
Water Damage
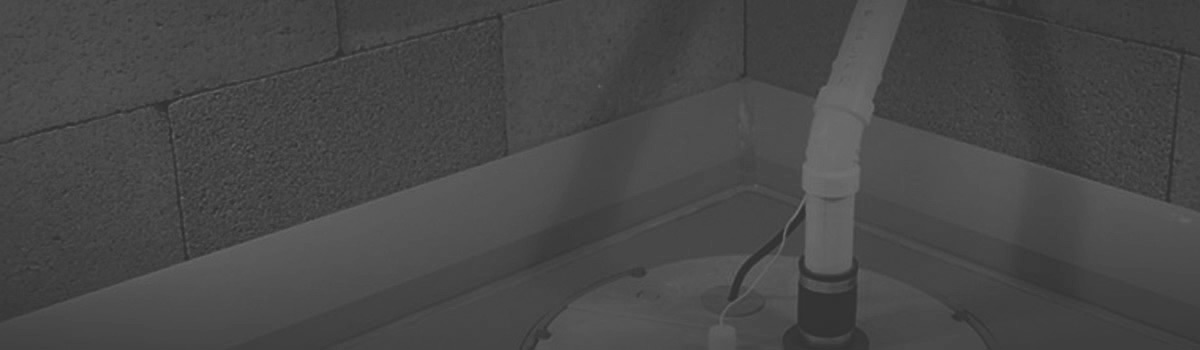
Around the edges of the wall, moisture had taken its toll
Pre-production
There was little to no products in place to protect against water
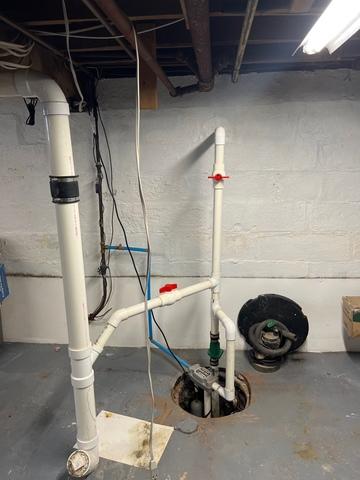
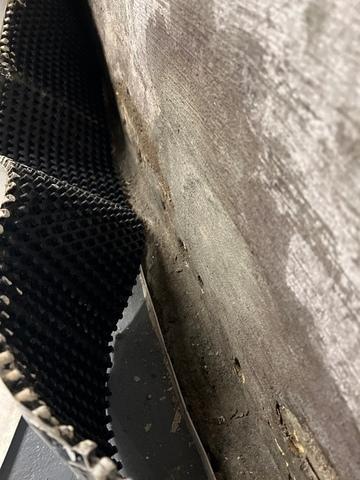
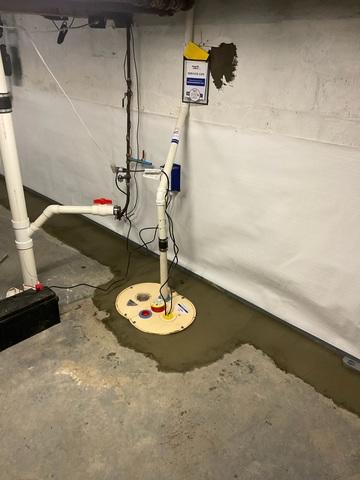
Old Sump Pit
The old sump pit couldn't keep up with incoming water
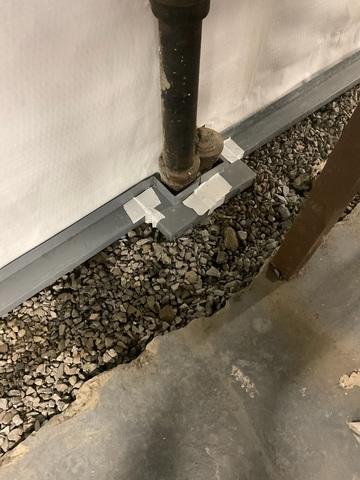
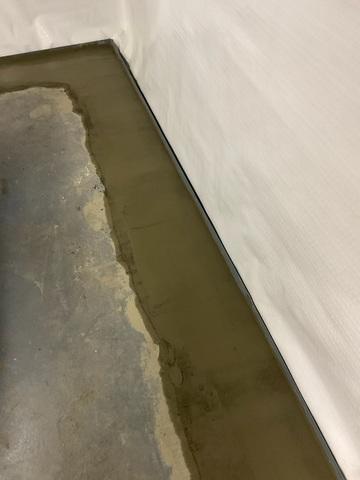
WaterGuard Installation
WaterGuard is placed at base of wall then covered with concrete. Here the WaterGuard has been installed, but not sealed into place
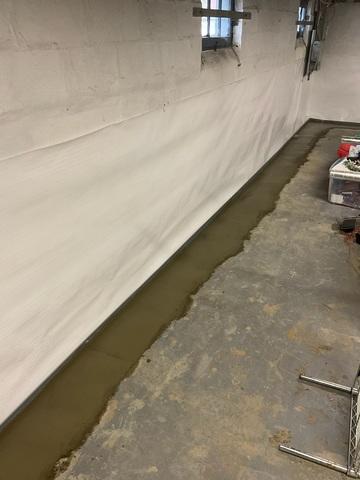
WaterGuard and TrenchDrain
On the right, that grate-type object is the TrenchDrain, which picks up where the WaterGuard leaves off when the wall cannot be accessed.
WaterGuard
WaterGuard along one of the basement walls
WaterGuard 2
WaterGuard in corner of the basement

TrenchDrain
TrenchDrain goes where WaterGuard cannot, helping to complete the circuit
Full System
WaterGuard leads into the TripleSafe sump pump and the CleanSpace along the walls act as a sturdy vapor barrier