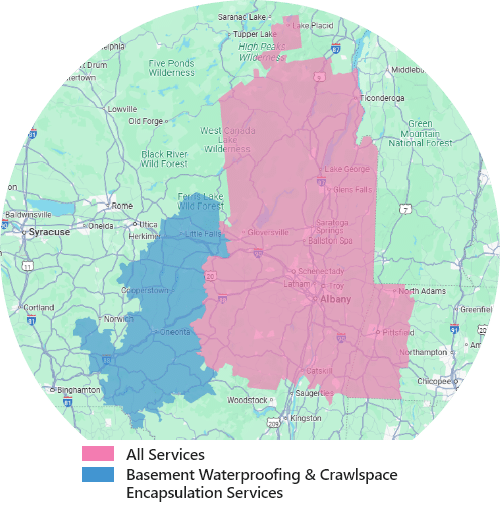

Sub-floor Drainage Installation
Step 1 is to install a sub-floor drainage system along the perimeter of the floor. WaterGuard is set up to accept water from the walls without leaving a large unsightly gap at the edge of the floor.

Pouring Concrete over WaterGuard
WaterGuard is engineered not to sit in dirt, so clogging from silt and sediment under the floor is not a problem! Concrete is poured over the WaterGuard to ensure there is no clogging from the top as well.

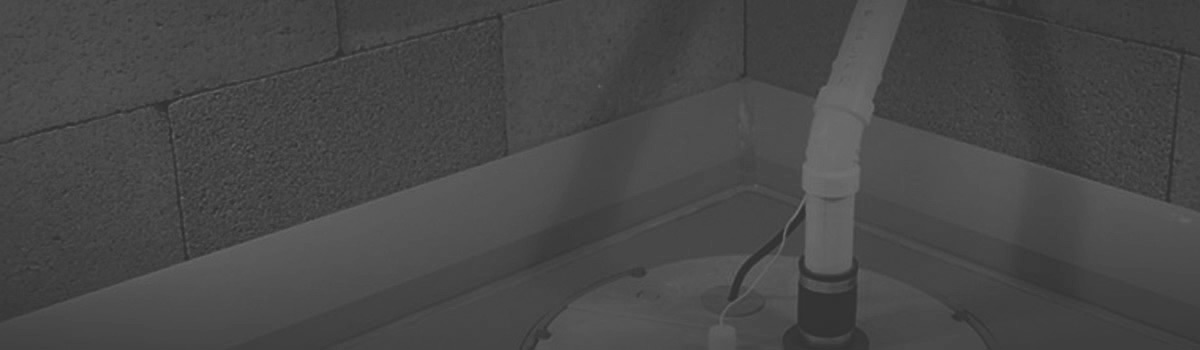
Sump Pump System Installed
The final piece in waterproofing your basement is the SuperSump. The SuperSump includes the finest pump available-a high-end 1/3 HP Zoeller cast iron pump with a mechanical float switch. This pump was chosen as the best from among nearly 50 models. It pumps 2,650 gallons per hour smoothly and quietly.